Go to app.winnr.app/signup, enter your first and last name, email, and a password (or click Continue with Google). You land on the Domains page with a short product tour. When you're ready to buy or connect domains and create mailboxes, click Choose Plan in the sidebar, pick Startup ($69/mo) or Enterprise ($189/mo), and pay by card on the secure checkout page. The plan is active as soon as payment goes through.
What you need before you sign up
Almost nothing:
- An email address (or a Google account)
- A credit or debit card, when you're ready to pick a plan
- A minute or two
You don't need domains ready, a long-term plan decision, or a sending tool picked. All of that can wait.
Email and password, or Google
- Email and password. Works with any password manager. Good if your team shares access through a password vault.
- Continue with Google. No Winnr password to manage. Keep in mind that if your Google account is locked, you can't sign in to Winnr until it's restored.
What happens right after signup
You land on the Domains page. From there, the fastest path to a working mailbox is:
- Choose a plan from the sidebar.
- Buy or connect a domain. A purchase is ready in a few minutes; a connected domain depends on DNS propagation.
- Create mailboxes on it. Purchases can create mailboxes in the same step.
- Turn on warming and let it run for at least 2 weeks (4 on a brand-new domain) before cold sending.
Then export the mailboxes to your sending tool.
If you get stuck
- Ask Winnr Agent, the assistant in the bottom-right corner of the app. It can answer questions and make changes for you. See Winnr Agent.
- Email
support@winnr.app. - Ask the chatbot on this help center. It's trained on the same content.
Step-by-step
-
1. Open the signup page
Go to https://app.winnr.app/signup. If someone shared a Winnr referral link with you, open that link first so the referral is recorded.
-
2. Enter your details
Fill in First Name, Last Name, Email, Password, and Confirm Password (at least 6 characters). Or click "Continue with Google" to sign up with your Google account instead.
-
3. Land on the dashboard
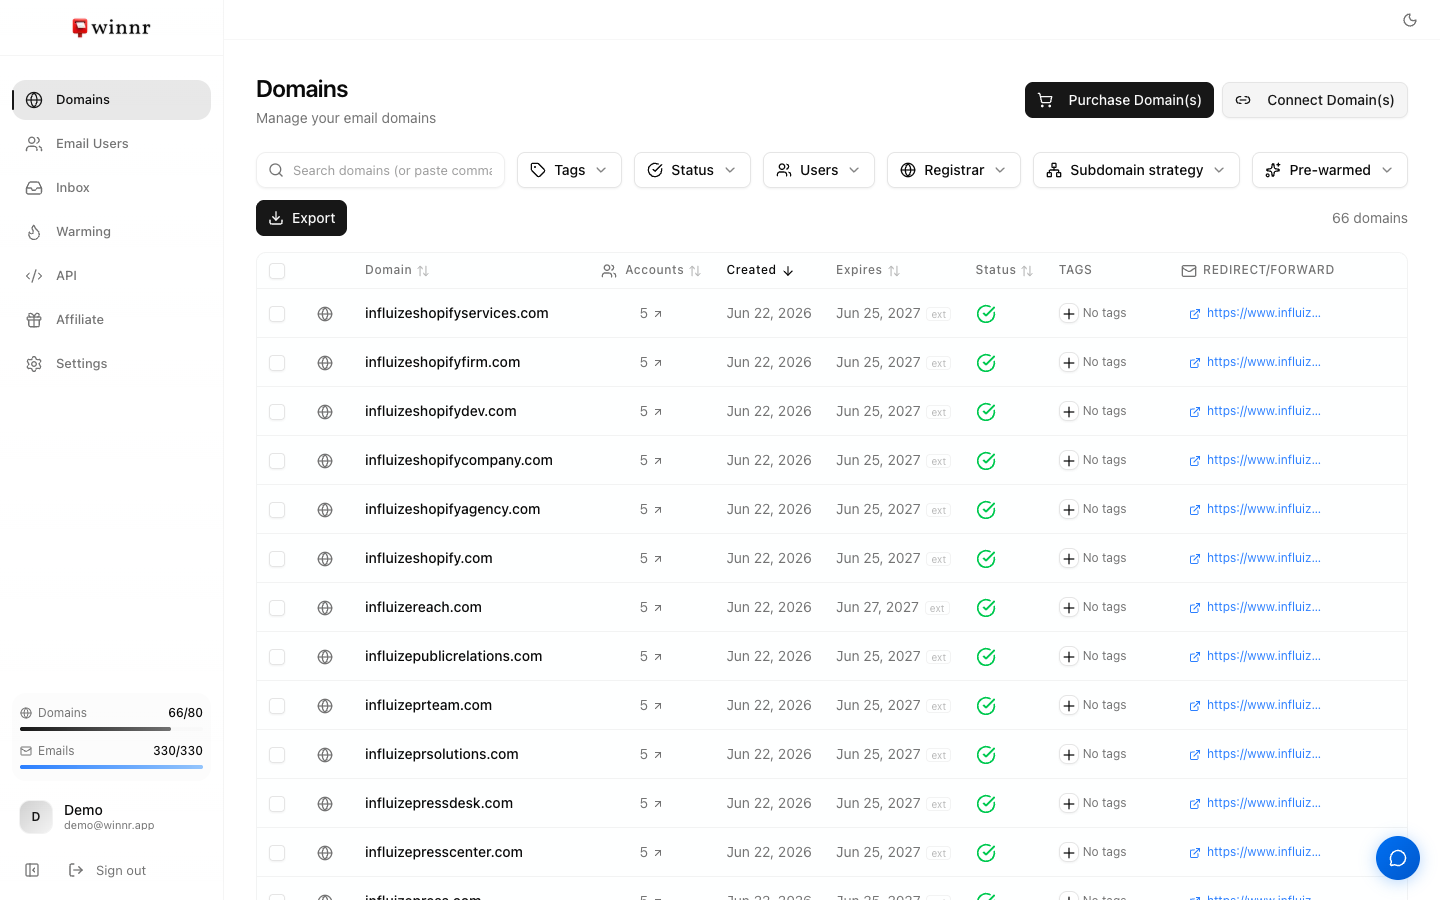
You're taken straight to the Domains page, where a short product tour points out the main buttons. You can explore the app without a plan.
-
4. Choose a plan
Click Choose Plan in the sidebar. Pick Startup ($69/mo, 50 mailboxes) or Enterprise ($189/mo, 200 mailboxes) and click Get Started. You can change plans later from Settings → Subscription.
-
5. Pay on the checkout page
Card details are entered on Stripe's secure checkout page; Winnr never sees your full card number. Your plan activates as soon as the payment succeeds, and you're returned to the app ready to add your first domain.
Frequently asked questions
Do you offer a free trial?
No, there's no free trial or free plan. You can create an account and explore the app without a card. Buying or connecting domains and creating mailboxes needs a paid plan. Plans are monthly with no minimum commitment, and you can cancel any time from Settings → Subscription.
Can I sign up with Google?
Yes. Click "Continue with Google" on the signup page. Your Google account becomes your login, so there's no separate Winnr password to manage.
What if I already have an account?
Log in at [app.winnr.app/login](https://app.winnr.app/login). Forgot your password? Use the [reset link](https://app.winnr.app/forgot-password).
Can I buy pre-warmed domains without a plan?
Yes. Pre-warmed marketplace domains are billed on their own ($3 per address per month) and don't require a base plan.
Can I have multiple accounts?
Yes, each account is billed separately. If several people need access to one account, invite them from Settings → Users instead.
Is my data encrypted?
All connections use TLS, and payment details are handled by Stripe. Mailbox passwords are visible only to people signed in to your account.